How I make digital products with AI, from a blank chat to a listing
The seven-step process behind my guides, trackers and interactive tools, plus the lesson that changed how I spend my time.
Not long ago, "make a digital product" meant a PDF. You'd write a guide, design it in Canva, export it and hope it looked good on a phone.
Today most of what I sell isn't a PDF at all. It's an interactive page: a reading tracker you can tap through, a dashboard that tells an Etsy seller what to do next, an alphabet game for toddlers, a coloring book you color on screen. I'm not a developer. I build every one of them by describing what I want to AI, testing what comes back, and refining it until it works.
This entry is the exact process I use, in the order I use it.
What I've built this way
So you know this isn't theory, here's a sample of what has come out of this process for my shop, Creative Digital Story:
- Guides and courses: the Interactive Digital Products Guide, the Etsy Success Guide 2026 Edition, and my newest course, Make Money with an Automated Affiliate Blog.
- Interactive tools: a reading tracker, an Etsy Next Action dashboard, and the Pinterest Digital Wealth Bundle, a set of six AI-powered Pinterest tools.
- Just-for-fun products: a toddler alphabet game and an interactive coloring book.
- Spreadsheets: trackers for small business owners, built in Excel.
Every one of these started as a conversation.
Step 1: Start with a job, not a product
The worst way to start is "I want to sell a planner." The best way is to name a specific job someone is struggling with. "Etsy sellers open their dashboard and don't know what to fix first" is a job. That one became my Etsy Next Action dashboard.
Write the job down in one sentence before you open any AI tool. If you can't, you don't have a product yet.
Step 2: Let AI interview you
Instead of asking AI to "make a product," I ask it to ask me questions first. Something like:
I want to build an interactive tool that helps [who] do [job].
Before you build anything, ask me 8 to 10 questions about
the buyer, what they need to see first, and what would make
this worth paying for.
Answering those questions forces you to make the decisions you'd otherwise skip, and the build that follows is far better for it.

Step 3: Outline before you build
Next I ask for a structure: the sections, screens or modules, and what each one does. This is the cheapest moment to change your mind: moving a section around in an outline takes seconds, while moving it in a finished product means rebuilding. Read the outline as your customer would, and check that it ends with them doing something, not just knowing something.
Step 4: Build it as one interactive page
This is where it gets fun. I ask Claude to build the product as a single, self-contained web page, and I describe the look in plain words: my brand colors, the fonts, how it should feel on a phone. Then I open it and use it like a customer would.
You don't need to read the code. You need to notice things like:
- Does it look right on a phone?
- Is it obvious what to tap first?
- Does anything break, overlap or feel slow?
Then I describe what's wrong in normal language ("the buttons are too close together on mobile," "the progress bar resets when I refresh") and ask for a fix. Most products take several rounds of this. That's normal.
Step 5: Test it on someone who isn't you
You already know how your product works, so you're the worst tester. Hand it to a friend, ideally one who matches the buyer, and watch where they hesitate. Every pause is a fix.
Step 6: Host it and package it
My interactive products live on Netlify, which hosts simple web pages for free. The buyer gets a link, which works on any device and never needs downloading. For spreadsheets and guides, the file itself is the product.
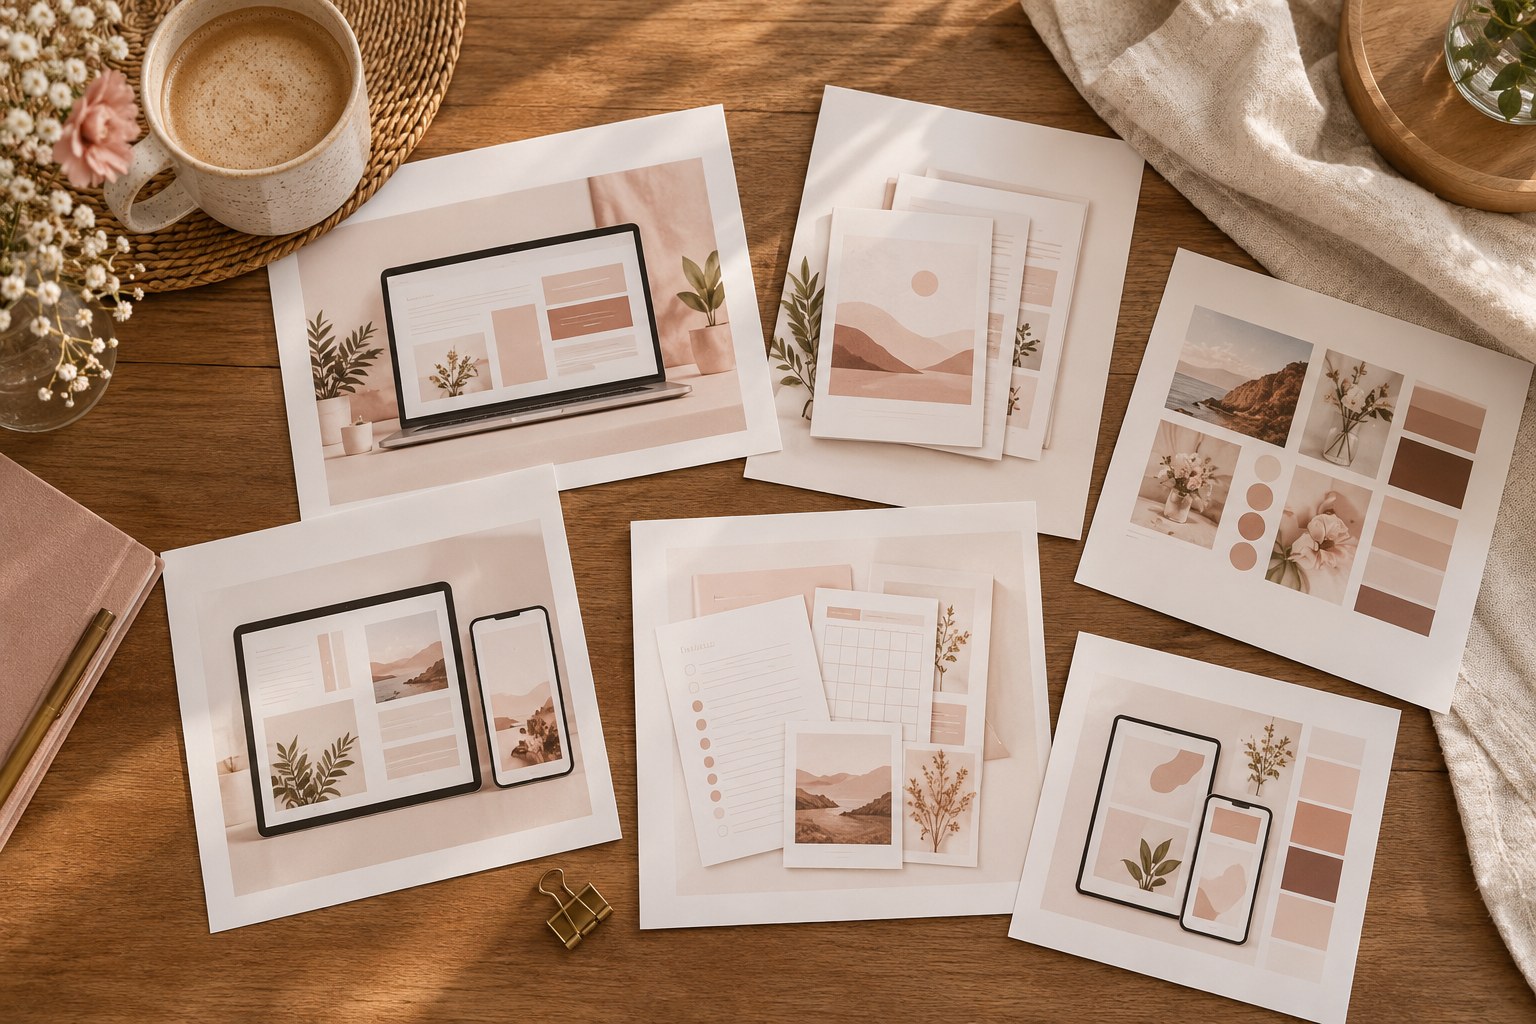
Then comes the packaging, which matters more than people expect: a clear product name, three or four mockup images made in Canva, and a description that leads with the job it does, not the features.
Step 7: List it and point people to it
I sell through a Beacons storefront, which handles payment and delivery and doubles as my link in bio. Then the product needs a way to be found: Pinterest pins, Threads posts and, now, entries in this blog.
The lesson that changed how I work
Here's what nobody tells you about building with AI: making the product stops being the hard part. When you can build a polished interactive tool in an afternoon, the bottleneck moves almost entirely to marketing. Who is this for? Where do they hang out? Why would they trust you?
I learned this the slow way, by building product after product while my marketing stayed thin. A shelf full of good products doesn't sell itself. These days I try to split my time the other way around: less building, more getting each product in front of the right people. It's also a big part of why this blog exists.
So if you're starting out, build one product, not five. Then spend the time you saved getting that one product seen.
A quick checklist before you build
- I can describe the buyer's problem in one sentence.
- I've let AI ask me questions before building.
- I have an outline I'm happy with.
- I've tested it on a phone, and on someone else.
- I have a name, mockups and a description that leads with the result.
- I know where my first 100 visitors will come from.
That last box is the one most people leave empty. Fill it in before you start building.
The Saturday Build
One new build log a week, plus the prompts and tools behind it. No hype, no get-rich-quick promises.
Thank you, you're on the list.
Sorry, that didn't go through. Please try again in a minute.
Keep reading

The truth about "passive income" from blogging, and what mine really takes each week
It's not 100% passive, it's not fast, and I still love it. Here's the honest version, hour by hour.
How I set up a blog that writes itself (and why I still edit every post)
The exact system behind my twice-weekly home and lifestyle blog, from the scheduled AI task to the moment a post goes live.
Etsy or your own storefront? Where to sell your first digital product
An honest side-by-side of Etsy and a link-in-bio shop like Beacons: the real fees, who brings the buyers, and a five-question way to choose.